Anatomy of a painting.
It's no secret that I haven't been blogging much lately. I've been busy painting.
Yes painting.
If only that were true.
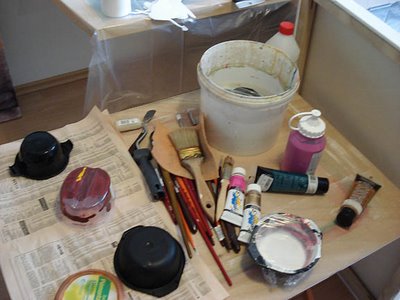
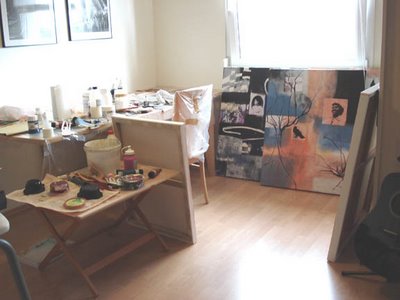
At the moment I'm working 4 large canvases simultaneously right now in my not-so-large makeshift studio-- and by studio I mean dining room. In it's present state it's hard to imagine how we could have ever entertained guests in this room, but untill I have my private home studio in our new apartment it'll have to do. I figure it will just make me that much more appreciative when I do have my own space.
After a very rough start, I can now say that I'm feeling optimistic about the insanity and ugliness going on in my studio. I love nothing more than a really ugly painting. It seems my love of the "make-over" extends into my art practice.
Anyway---the paintings are weeks away from being finished- finished, but I can give you a sneak peak at the first steps of may process:
Step #1:
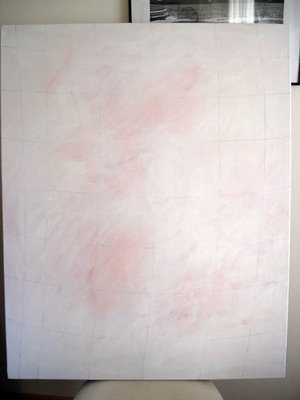
Mark up the canvas. I made a simple black grid with a sharpie marker then added some modeling paste and a wash of pink.
Step #2:
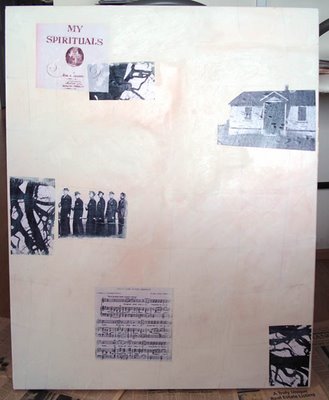
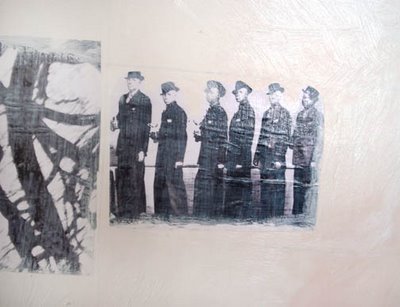
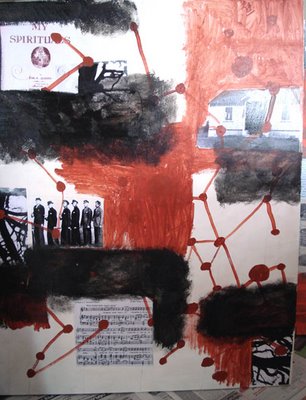
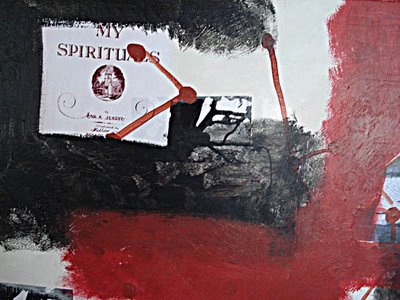
Add a few images. In this case an old house, a songbook cover, tree branches, and sheet music of some church songs that I remember from my childhood.
Step #3:
Add some color and form. There is no method to my madness. I just do it and see what takes shape. I add blocks of color and often weird nonsensical marks.
Step #4:
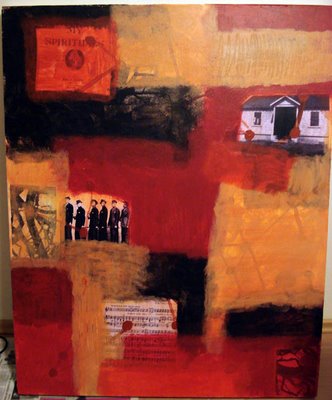
One wash of color to unify all the parts thats have been added. Later I'll add more images and hand-draw some marks onto the canvas. And then I'll let it rest for a few days.
So that's that. The very first hours of one of my paintings.
To be continued...




1 comment:
So cool to see your "process". And even better to see how the finished painting turned out. Good luck with the other nine. :)
Post a Comment